Friday, November 9, 2012

Motorcycle Jacket Love

I have a new painting project, but it's in its very earliest stages.  I'll let you know more once it's gestated a bit.  But the idea behind it is to spread some positivity around, cause we need it.  The world really needs it!

My next sewing project is equally exciting!  I saw this lovely motorcycle style jacket by ttnora, and fell in love.  And was inspired!


Rachel happens to be in the market for a jacket, and I thought this would be perfect, if made from sweatshirt fleece!  That's what the wool reminds me of in these images, and that's probably Rachel's favorite thing to wear.  So, I'm buying the pattern today. :)  Excite!

Monday, November 5, 2012

Ritual Reset

The beauty of having a dedicated work space is that all of your supplies can be out, within arms reach at any time.  You can throw scraps of fabric on the floor, leave your easel set up, leave brushes and paints out, so you don't have to spend an hour prepping for work the next day.  But when the project is complete, things tend to look a little.... chaotic.  I find that this state of disorder makes it nigh on impossible to start a new project.  I get distracted by the mess, or the old thoughts.  To solve this, I have a little ritual I call "resetting."

By reset, I mean clean.  I don't like it, but it helps.  See, I really do like when things are tidy.  The process is not enjoyable, but the result sure is!  So things look nice and fresh and inviting when I go into the studio.  It also clears the residue of the last project, physically and mentally.  Taking a break from the creative process lets my brain rest, or start planning the next project.  And in those difficult starting phases of a new project, there are fewer distractions.

In my last reset, I found some missing nail polish, a box of Redbull, and a couple of missing sketchbooks.  It's like finding treasure!

What sort of rituals have you found in your work?

Sunday, November 4, 2012

Black as Night, Red as Blood

Hello readers!
I've been busy sewing on a deadline.  This latest piece was commissioned by a friend of mine, to match the band Steam Powered Giraffe.  The deadline snuck up on me a bit, but I was able to complete it in time for her to attend their concert.  It's name is completely unrelated, however.  Because of its colors, the fact that I completed it Halloween night, and I STABBED myself more than I have on any other project of any kind, I call it Blood Sacrifice.

When I fitted the muslin, I installed a zipper in the front.  She wanted to keep it, instead of a busk.  In order to give it extra structure, I inserted a half inch bone on either side of the zipper, and it worked just fine.  Later, I also found countourcorsets.com, selling corsets for serious tight-lacers, many of which had zipper closures.  I had been worried that a zipper wouldn't handle the tension well, but that site disappeared my worries there.


I used Ageless Patterns #1042.  These patterns assume that you know a bit about corsetry, and a good deal about sewing.  Other than the slight confusion about which seams matched, I didn't find the minimal instructions to be a problem.  It turned out quite well, actually!  And my friend was pleased enough that it made those many, many, MANY pin-pricks worth it.

Monday, October 29, 2012

Three Lessons on Bias Tape

If you've ever sewn anything, you've probably had a need for bias tape.  Making your own creates a lot more options for whatever your purpose is.  I needed to make some to use as bone casing for my friend's corset.  I'd never made it before, but there's never a better time than when you have a very specific need!

I saw a tutorial like this one, that seemed like it would save some work, allowing me to create really long strips of bias tape.

Lesson 1:  when drawing your lines, mark the wrong side!
I marked the right side, and had trouble lining up my marks properly, had to turn the tube to cut it, and found out that well, my lines were not aligned.  *sigh*  I eyeballed it as I cut, and got some decently even strips.

Lesson 2:  Use a low-steam setting on your iron, or get one of those handy little bias tape folders.  I was doing this ally by hand, and earned some steamed fingers.  Ouch!

Once I got all my bias tape made, I realized that I'm going to have a bunch of little seams, that may interfere with inserting the boning.  Not good, but I'll have to make do.  But today, I found this:

Lesson 3:  You don't have to have squares to make the bias tape! 
I was thinking about this as I was cutting up my limited amount of fabric into chunks, but I'm not a math/geometry wiz.  I wasn't going to try anything, not with my fashion fabric, at least.  This one will be mighty handy next time!  Plus, the blog is called The Dread Pirate Rodgers!  Cute pun, great reference, excellent tutorial!

May you take these lessons I learned the hard way, and use them.

Wednesday, October 17, 2012

Drawings from the Danger Booth

I always come back from one of Rachel's conventions feeling inspired.  That's enough of a reason to keep going.  So, I drew this picture of myself being goofy.  He photo was taken in a prank photo booth with a friend.  It's an interesting challenge to draw a strang expression.  You can't assume things.  Maybe that's why this sketch came together so quickly.

Have some fun!
Be silly!
Take photos!  Maybe you'll find yourself in the Danger Booth, too.  ;)

Friday, October 5, 2012

Making Madness

What have I been making lately?  A lot, actually!  My own deodorant (after a terrible breakout from the one I bought from Lush,) a new purse, a lot of artwork for my friend's movie, a corset for another friend, and food.  Lots of food!  Friend, memories, and plans to travel to NY.  So here's to marathons of crazy busy madness, because sometimes you need it.

Monday, September 17, 2012

Higasa (Parasol) Purse

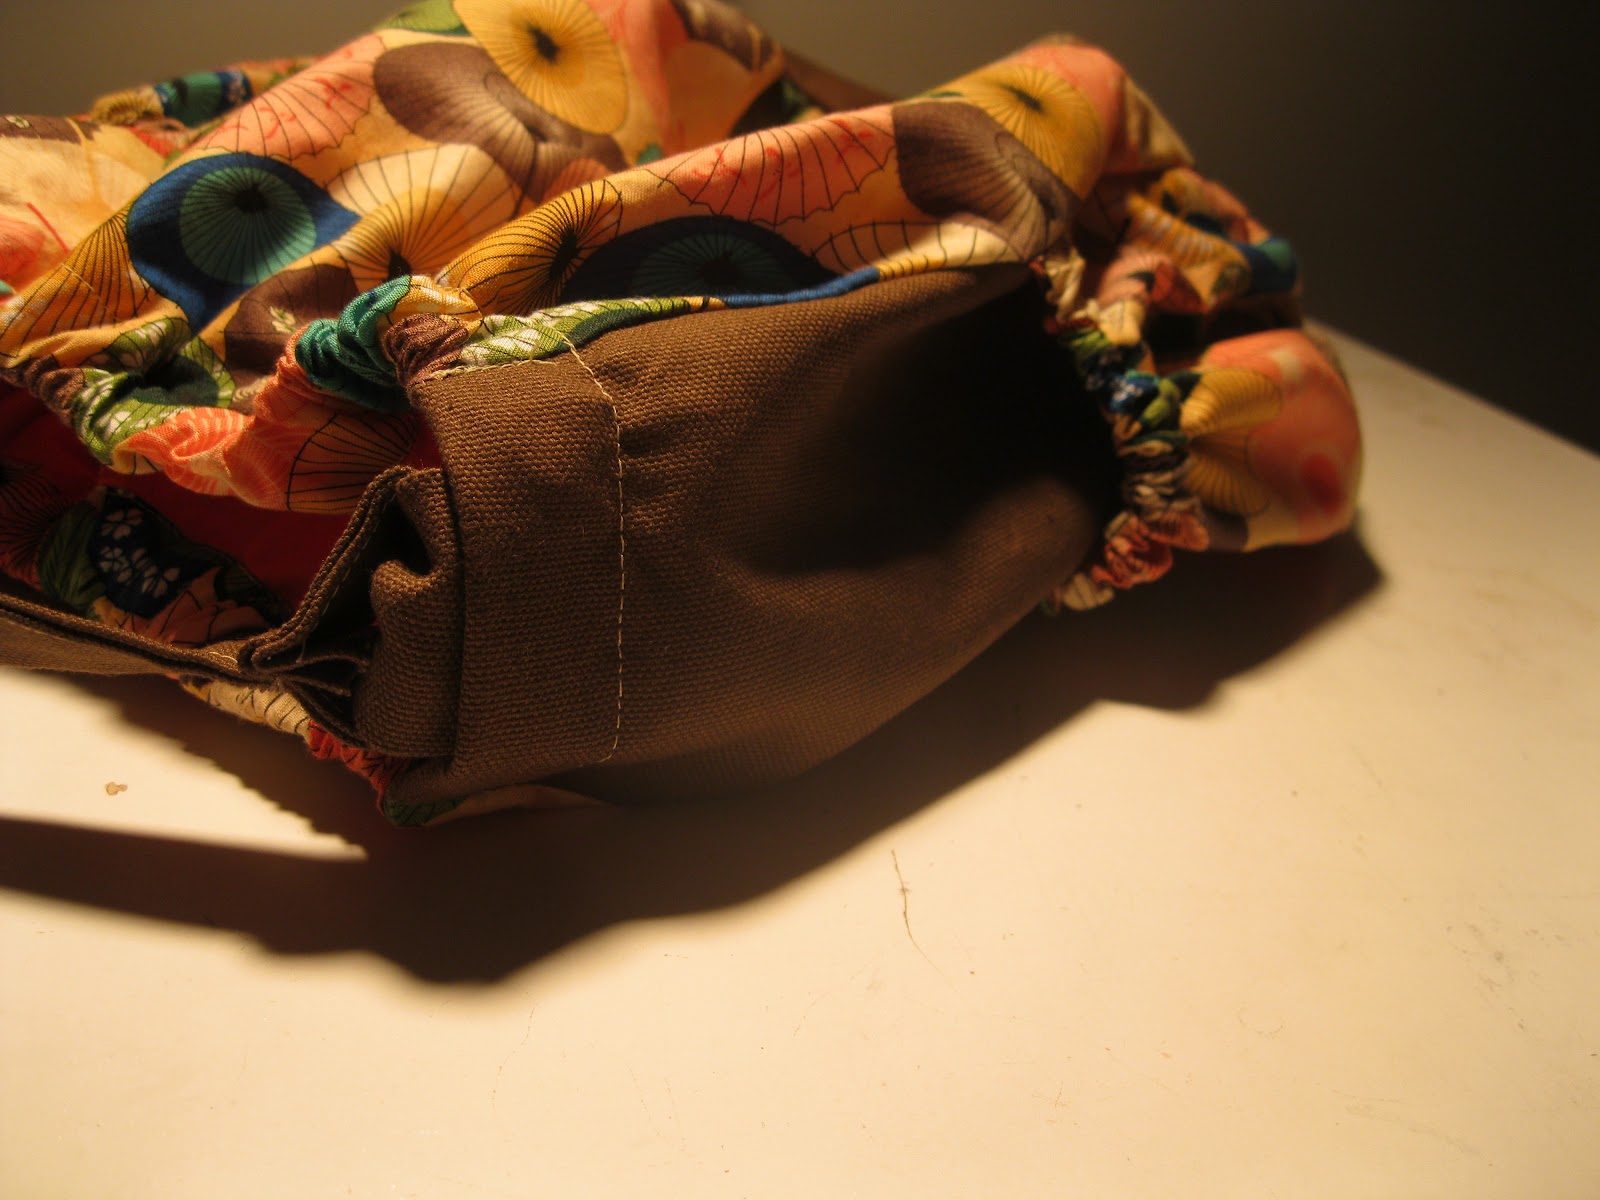
A long time ago, I saw some fabric at Jo~Ann Fabrics, and I loved it.  It was Japanese style parasols, and I had to have it.  But I did not buy it, because I had no idea what to make from it.  When my purse snaps finally gave out, I knew what I needed to make!  I bought a yard of that lovely parasol print, and had everything else!

The slits I made for the magnetic snap tabs tore... 
and the non-fusible interfacing came out along with the snap.  
I thought that fusing the interfacing, or in my case, sewing it to the fabric might prevent this issue.  So I sewed it on to the lining in a little square.  I also used an awl to create the holes instead of cutting the fabric, for a bit of extra durability.


The square distorts a touch, from forcing the tabs through the holes.
The color is not quite right in these pictures, so I'll try to get a more accurate one later.  
The orange lining is INSANELY bright.  

This thing is also HUGE compared to what I'm used to carrying.  We'll see how that turns out...