Showing posts with label Sewing. Show all posts

Wednesday, July 16, 2014

Making a Maxi Can Make you Mad!

It's summer + I wanted a maxi dress + I have short legs = I make my own.
This one, to be exact, cause it's purdy!

125_0413_b_large
Smocked Maxi Dress 4/2013 #125, from BurdaStyle

The measurements seemed like they should be just fine, other than the length adjustments I knew I would have to make.  So I just dove right in.  I got the bodice done, and it was beautiful, but way too big.  Like, the shoulder straps sliding off my shoulders too big.  The arm holes are gimongous, too big.  Who has tatas this size, too big.  

I took it as a cue to finally draft myself a sloper based on my actual measurements.  I used a tutorial on youtube for a very basic sloper, and I measured in centimeters.  For one, the video used metric, and it's just more precise.  Additionally, I have no idea what 50 cm actually is, so it's a good, honest way of measuring myself.  

I traced my new sloper onto some vellum, and began marking points based on the Burda pattern.  I marked the depth of the V-neck, and where I wanted the shoulder straps to land.  I matched the width of the straps, and matched the armhole of the Burda pattern to that of my sloper.  Here, you can see all the changes I made.  The original sloper in purple, and the pattern in blue.


And here's a comparison between the original pattern pieces and the modified ones.


The bodice ended up a little too long in the back, and I'm not quite sure why.  It's still wearable, but I need to figure it out! I love this pattern, and it may be the first of many more maxis for me.


Saturday, June 8, 2013

Pockets!

A friend of mine has commissioned me to make a couple of messenger bags.  I'm once again using this great pattern from the weekend designer (the same pattern I used for the army owl tote).  The only thing  lacking from the pattern is pockets.  My friend is a programmer, so naturally has lots of gadgets to carry about.  So I want to include pockets with a bit of volume.  I've made them a couple of ways, but it's usually a trial and error thing for me.

This tutorial in Cut Out and Keep shows a couple of ways to achieve nice pockets.
Here is another for cargo pockets on pants.  On yhis, the top is a fixed width, but the bottom of the pocket will expand.

Happy pocket making!

Friday, March 8, 2013

Studio Buddy

Hazel decided that she needed to be part of my creative process last night. 


Think I could train her to be a paperweight or registration guide?

Playing with her after I finished gave me some inspiration.  It's difficult to find appropriate toys for a dog this size, especially toys without squeakers.  She happens to HATE squeakers.  So I think I'm going to start making tiny dog toys!  I'll be doodling some ideas today.  Can't wait to share them with you!


Thursday, March 7, 2013

Etsy Overhaul!

I am in the process of giving my Etsy shop a MAJOR facelift!  I went ahead and listed a whole bunch of new things, including some folk style paintings, and a couple of prints.  I'm aiming to get back to my goal of one new item each week! 

Check it out here!

Wednesday, January 30, 2013

Spoonflower Giveaway

That's right, kids! Spoonflower is giving away 3 welcome packs, including Laurie Wisbrun's book on fabric design. Go enter!  Make all the perfect fabric for those projects!


Wednesday, December 26, 2012

Melting Bones

Any decent Victorian garment is going to need bones. I'm making a quick bustier for one (quick is the important word here), so I'm using that plastic boning that comes in a roll. The directions advise that you cut the ends to round them, but I find that it's very difficult to get them smooth. They catch in the casings and are a complete pain. But I tight to myself, there's no reason I couldn't get the help of my friend, Fire!

I removed the bone from its casing, and cut it into a roughly roundish shape.


Hold it in the blue part of the fire for a couple of seconds. If you hold it in the yellow part, it will get sooty. (I learned that in chemistry class. I don't play with fire quite THAT much.)


You'll see the edges start to soften.


While it's still warm, press the end against the table or your finger to smooth it.


Slipping your bones back inside their casings will be a dream!


Friday, November 9, 2012

Motorcycle Jacket Love

I have a new painting project, but it's in its very earliest stages.  I'll let you know more once it's gestated a bit.  But the idea behind it is to spread some positivity around, cause we need it.  The world really needs it!

My next sewing project is equally exciting!  I saw this lovely motorcycle style jacket by ttnora, and fell in love.  And was inspired!


Rachel happens to be in the market for a jacket, and I thought this would be perfect, if made from sweatshirt fleece!  That's what the wool reminds me of in these images, and that's probably Rachel's favorite thing to wear.  So, I'm buying the pattern today. :)  Excite!

Monday, November 5, 2012

Ritual Reset

The beauty of having a dedicated work space is that all of your supplies can be out, within arms reach at any time.  You can throw scraps of fabric on the floor, leave your easel set up, leave brushes and paints out, so you don't have to spend an hour prepping for work the next day.  But when the project is complete, things tend to look a little.... chaotic.  I find that this state of disorder makes it nigh on impossible to start a new project.  I get distracted by the mess, or the old thoughts.  To solve this, I have a little ritual I call "resetting."

By reset, I mean clean.  I don't like it, but it helps.  See, I really do like when things are tidy.  The process is not enjoyable, but the result sure is!  So things look nice and fresh and inviting when I go into the studio.  It also clears the residue of the last project, physically and mentally.  Taking a break from the creative process lets my brain rest, or start planning the next project.  And in those difficult starting phases of a new project, there are fewer distractions.

In my last reset, I found some missing nail polish, a box of Redbull, and a couple of missing sketchbooks.  It's like finding treasure!

What sort of rituals have you found in your work?

Sunday, November 4, 2012

Black as Night, Red as Blood

Hello readers!
I've been busy sewing on a deadline.  This latest piece was commissioned by a friend of mine, to match the band Steam Powered Giraffe.  The deadline snuck up on me a bit, but I was able to complete it in time for her to attend their concert.  It's name is completely unrelated, however.  Because of its colors, the fact that I completed it Halloween night, and I STABBED myself more than I have on any other project of any kind, I call it Blood Sacrifice.

When I fitted the muslin, I installed a zipper in the front.  She wanted to keep it, instead of a busk.  In order to give it extra structure, I inserted a half inch bone on either side of the zipper, and it worked just fine.  Later, I also found countourcorsets.com, selling corsets for serious tight-lacers, many of which had zipper closures.  I had been worried that a zipper wouldn't handle the tension well, but that site disappeared my worries there.


I used Ageless Patterns #1042.  These patterns assume that you know a bit about corsetry, and a good deal about sewing.  Other than the slight confusion about which seams matched, I didn't find the minimal instructions to be a problem.  It turned out quite well, actually!  And my friend was pleased enough that it made those many, many, MANY pin-pricks worth it.

Monday, October 29, 2012

Three Lessons on Bias Tape

If you've ever sewn anything, you've probably had a need for bias tape.  Making your own creates a lot more options for whatever your purpose is.  I needed to make some to use as bone casing for my friend's corset.  I'd never made it before, but there's never a better time than when you have a very specific need!

I saw a tutorial like this one, that seemed like it would save some work, allowing me to create really long strips of bias tape.

Lesson 1:  when drawing your lines, mark the wrong side!
I marked the right side, and had trouble lining up my marks properly, had to turn the tube to cut it, and found out that well, my lines were not aligned.  *sigh*  I eyeballed it as I cut, and got some decently even strips.

Lesson 2:  Use a low-steam setting on your iron, or get one of those handy little bias tape folders.  I was doing this ally by hand, and earned some steamed fingers.  Ouch!

Once I got all my bias tape made, I realized that I'm going to have a bunch of little seams, that may interfere with inserting the boning.  Not good, but I'll have to make do.  But today, I found this:

Lesson 3:  You don't have to have squares to make the bias tape! 
I was thinking about this as I was cutting up my limited amount of fabric into chunks, but I'm not a math/geometry wiz.  I wasn't going to try anything, not with my fashion fabric, at least.  This one will be mighty handy next time!  Plus, the blog is called The Dread Pirate Rodgers!  Cute pun, great reference, excellent tutorial!

May you take these lessons I learned the hard way, and use them.

Friday, October 5, 2012

Making Madness

What have I been making lately?  A lot, actually!  My own deodorant (after a terrible breakout from the one I bought from Lush,) a new purse, a lot of artwork for my friend's movie, a corset for another friend, and food.  Lots of food!  Friend, memories, and plans to travel to NY.  So here's to marathons of crazy busy madness, because sometimes you need it.

Monday, September 17, 2012

Higasa (Parasol) Purse

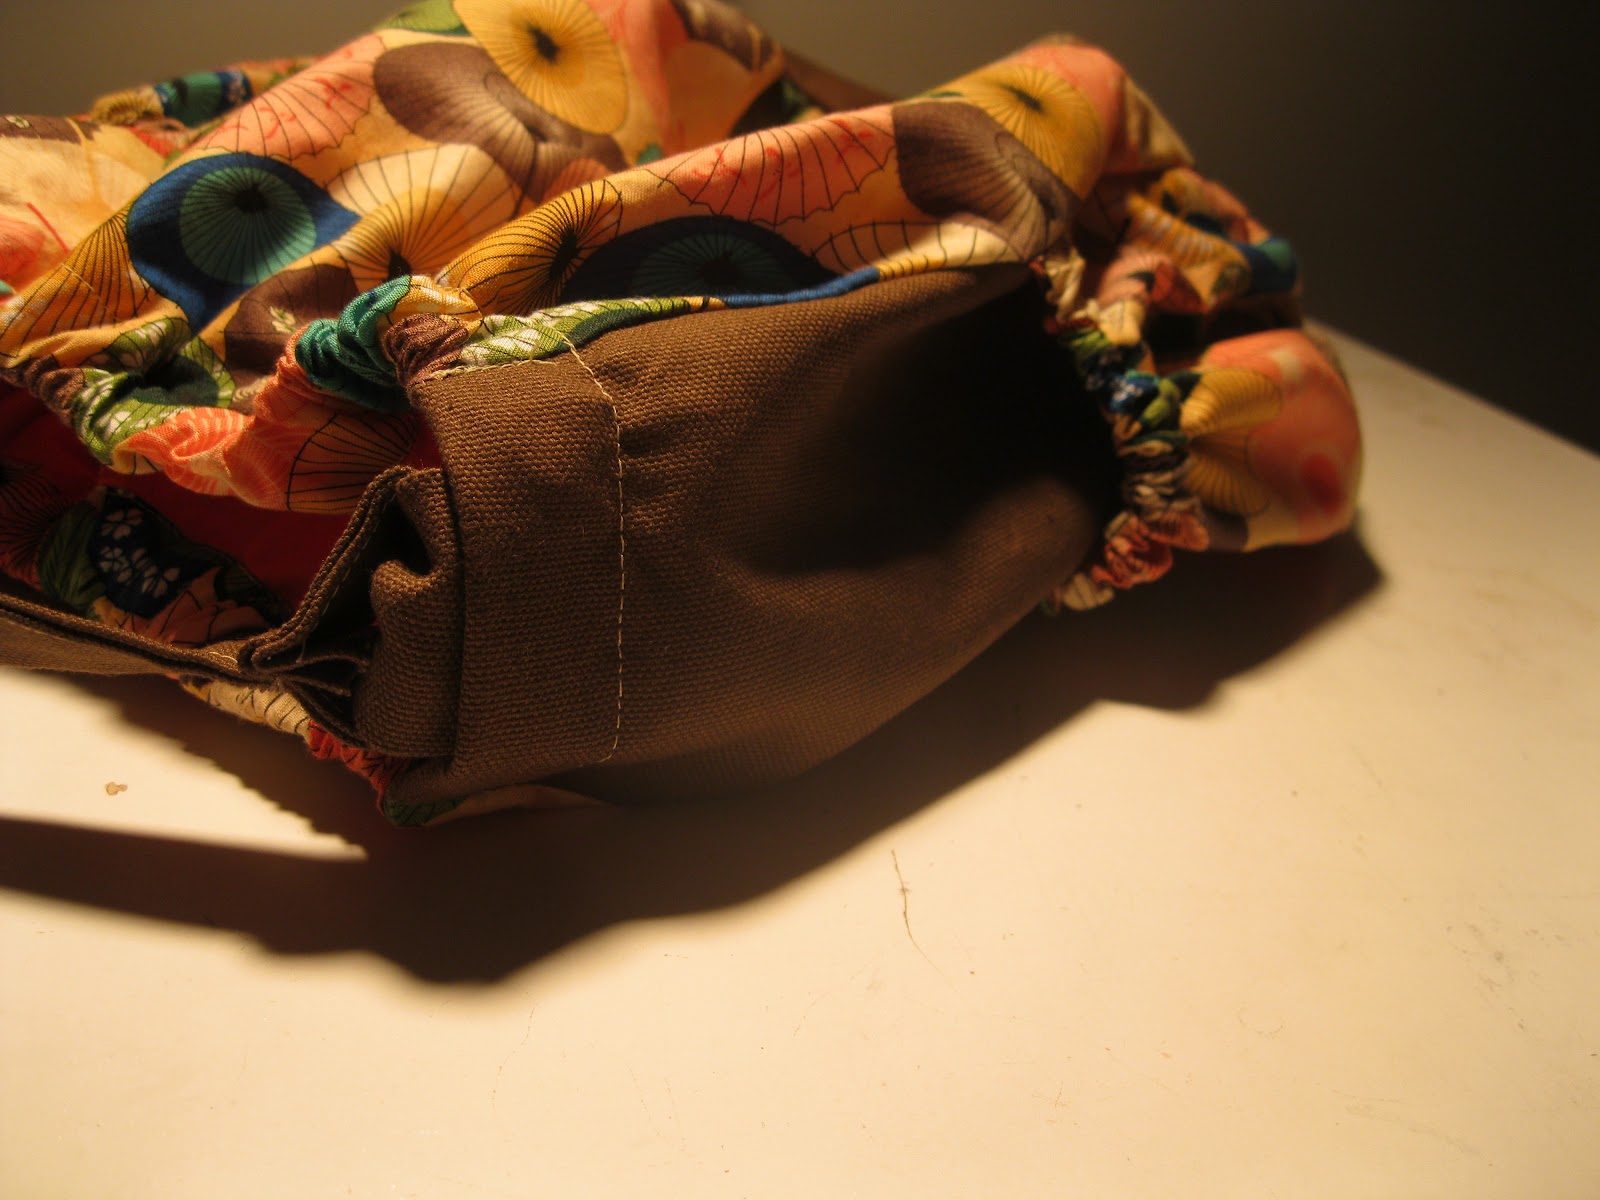
A long time ago, I saw some fabric at Jo~Ann Fabrics, and I loved it.  It was Japanese style parasols, and I had to have it.  But I did not buy it, because I had no idea what to make from it.  When my purse snaps finally gave out, I knew what I needed to make!  I bought a yard of that lovely parasol print, and had everything else!

The slits I made for the magnetic snap tabs tore... 
and the non-fusible interfacing came out along with the snap.  
I thought that fusing the interfacing, or in my case, sewing it to the fabric might prevent this issue.  So I sewed it on to the lining in a little square.  I also used an awl to create the holes instead of cutting the fabric, for a bit of extra durability.


The square distorts a touch, from forcing the tabs through the holes.
The color is not quite right in these pictures, so I'll try to get a more accurate one later.  
The orange lining is INSANELY bright.  

This thing is also HUGE compared to what I'm used to carrying.  We'll see how that turns out...

Monday, September 3, 2012

Labor Day Fabric Findings

Sme time ago (I'm not sure how long, but it's been a WHILE), I purchased the Bombshell dress class from Craftsy.  Much more recently, I decided to actually start making the thing.  The pattern is too small, and even after sizing up, still required significant adjustments.  It was a process.  Io'm still learning this fitting business, too, so it's taken a lot longer than I would have liked.  But finally, I' comfortable with the bodice fit.

Rachel, and I ran all over town today with a friend of ours.  I needed other opinions about fabric.  After wandering through most of the prints in the store, I pulled out a bolt of fabric that all three of us liked.  I was clear that this was the fabric for my dress!  Finally!  I'm very excited.  Won't it be lovely?


It's just warm enough to work for autumn and winter, but will do well year-round.  

I also. Picked up this. Fabric that I've been eying for a long time.  I had no idea what to make with it.  It ju st do happens that my purse is on its last legs, and I think this will work quite well.  Hooray for new fabric and projects!

Sunday, June 10, 2012

Finished Blouse - Burdastyle Handbook

Here's my finished blouse!


First, I made a muslin, using the seam tracing technique.  I picked it up from Gretchen Hirsch's Sew Retro class, on Craftsy.   I haven't made that dress yet, but I watched the whole class!


I made my alterations to the pattern (changed it to a V-neck).

I used a lot of basting to keep everything in place while I worked.  This was slippery floaty fabric!


I finished the neckline with an applique stitch, and clipped away the rest of the facing.  You could see the whole thing through the sheer fabric, and that was not pretty.  This is!


And lastly, I learned that there is a reason for black interfacing.  I used white initially, and you could see it.  It looked weird (below).  I removed the cuffs, used black interfacing for new ones, and holy moly, does it look better! 


Many many lessons learned working with sheers.  I'd encourage anyone to give it a try!  Just make sure you buy a little extra fabric.  :)

Sunday, May 27, 2012

Woman In Black

Last night, I took the Woman In Black blu-ray to my parents' house, and made them watch it.  (It's fun to scare my mom.  What can I say?)  I decided that this will most likely be my Halloween costume this year.  I've slacked HARD these last couple of years, and I really need to make up for it.  So the 2012 version of the film is set in the Edwardian era, which is roughly 1890 to 1918.  I made an Edwardian corset this winter, which would be perfect to wear under my mourning gown.  Except that I'm not sure what style the Woman In Black's clothing is. 

I've been scouring the interwebs all morning for good images of the costume, but there don't seem to be any.  I found this silhouette from behind, which tells us that the skirt isn't super voluminous, and neither are the sleeves.  From what I can tell (and please correct me if I'm wrong), that points to the Edwardian era.  


But then, there are these, which look more like Victorian clothing to me.


This photo, the adopted parents with Nathaniel, also look like late Victorian clothing. 


The timeline in the story is a little fuzzy, too.  I'm not sure how long ago the woman died.  I might go watch the movie again, to see if I can find dates on the death certificates in the movie.  At least it would give me a solid starting point.  I'd really like to find the costume test shots, but that would decidedly ruin the ghostliness of the Woman, for those who haven't seen the film. 

Tuesday, May 8, 2012

Seams in Sheers

My chosen project from the Burdastyle Handbook is the blouse, and I'm doing it in a sheer fabric.  It's going beautifully, but I should have done a bit of research first.  The seams are not very attractive, and I need to find a way to fix that.  Had I planned ahead properly, I would have found that there are a great number of ways to finish seams in sheer fabric, and that the most preferred is the French Seam.  That involves sewing the pieces with the wrong sides together, which is not what I have done.  So, I'm going to attempt a false French seam with only a 1/2" seam allowance.  It will be slow and tedious, but hopefully the results will be worth it!

The Cutting Class has a very nice illustration of French seams.  I think I'm going to look a little more closely at the rest of their site, too!

Threads has some interesting alternatives that completely hide the seam allowance, leaving nothing more than a tiny band of color in its place.  Kind of wild, really.

And I seem to remember something about adding a flesh colored piece of fabric to the inner side of a seam to hide it, I think from Gretchen Hirsch, but I'm not sure.  If anyone finds that tip, please let me know!

Wish me luck!

Tuesday, May 1, 2012

H&M Sweatshirt Peplum Blazer

What the heck is a sweatshirt peplum blazer? It's the best way I could describe this jacket, which I found at H&M.


Actually, I'm not certain it was this exact blazer, but the one I saw was so lovely! It was made of sweatshirt material in bright primary red or blue, with big buttons, and princess seams. Naturally, they didn't have it in my size. I'd probably have tried to make it, even if they did... Anyway, I think this is a comparable pattern:


Or this:


They each achieve a similar shape, but without the seam at the waist!  And who doesn't love a nice long line?

Monday, April 30, 2012

The Burdastyle Sewing Handbook

Well kids, I finally picked it up. Actually, Rachel bought it for me. The lady at the wonderful Sew To Speak said that if for any reason I didn't like it, she'd buy it back from me. The book starts with a section for beginners. It describes sewing tools, and tells you what you should have in your kit, shows you how to handle sewing machine, and goes over different stitches. I didn't realize that a book that covers altering patterns would also deal with beginner sewing tips. This plus 5 patterns, 3 variations of each, and the book's only $30? It's worth it! I haven't yet finished my project, but I started with the top. I was going to purchase a blouse pattern from their site anyway, and this had three! They encourage playing with and varying the pattern. The only thing I might like to see more of is how to tell what to adjust. But then, maybe I'm not there yet. I was amazed at how fast my muslin went together, and I'm super stoked to try the other patterns! Perhaps the most valuable thing I have learned, however, is that a 6x19" piece of one sided transfer paper just won't do. This is the first time I've ever used it, and frankly, I'm not impressed with what I got. Just some Singer brand stuff from Jo-Ann. I really need to order something bigger. You don't want to have to shift the tracing paper between your pattern and fabric, and trust it not to move! Anyway, I'm pleased with the book. Order it here or at your local shop! Happy sewing!

Tuesday, April 17, 2012

Drawstring Backpacks

Remember how I said I found my evil twin?  Well, we hatched a plan for some of those draw-string backpacks.  Naturally, I can't share with you the full plan, but I will share this tutorial!  They've been super popular, and are clearly simple to make.  Material Girls does a great job of explaining, and makes a rather high quality version.  So cute!

Friday, April 6, 2012

New Projects!

I hate a good bit of my clothing at the moment.  I've decided to try to make as much of my clothing as possible, mostly so that it will fit properly.  I've been scouring BurdaStyle.com for pieces I think I could pull off, and would actually wear.  The first one I found is the short sleeved blouse.


I don't think I would have chosen it, except I found this fabric at Jo-Ann last night:


This is a beautiful sheer (unfortunately polyester) chiffon, with velvety pink dots.  I can't wait to sew it up!  But, it's going to have to wait for a couple of weeks.  We're going to Chicago next weekend, and Rachel has asked me to alter some T-shirts, so they're cuter.  I tried to find some black jersey last night, but that's impossible to find.  Why?  WHY?

I did stumble across some fabric which will be a PERFECT print accent for the family room.  Observe, a day in the garden:


The brown matches our couch, and the blue is the color we've chosen to tie the whole house together.  Hooray!  I picked up the last two yards, because I just knew it wouldn't be there if I didn't.

I think I'm going to have to do white for the main part of the curtains, just to brighten the room.  And then I'll line them with block-out, to keep out the light.  Haha.  Paradoxical.